How to upload your beta app to TestFlight
This is a step by step visual summary of the process of uploading your app to TestFlight. I hope it will make it easier for you to upload your betas. TestFlight is quite straightforward, only sometimes can be confusing, this is why I made this guide for beginners.
As an indie developer TestFlight should be part of your app’s release process and a way to get feedback before the release. When you send your beta version to TestFlight you can let it test by up to 10,000 testers by either sharing a link or sending an email to their Apple IDs.
Of course, you will need an Apple paid developer account to use TestFlight and publish apps to the Apple Store!
Uploading your app from Xcode
There are two main steps to get started:
- Archive your app.
- Upload the archive to the App Store.
What you will need
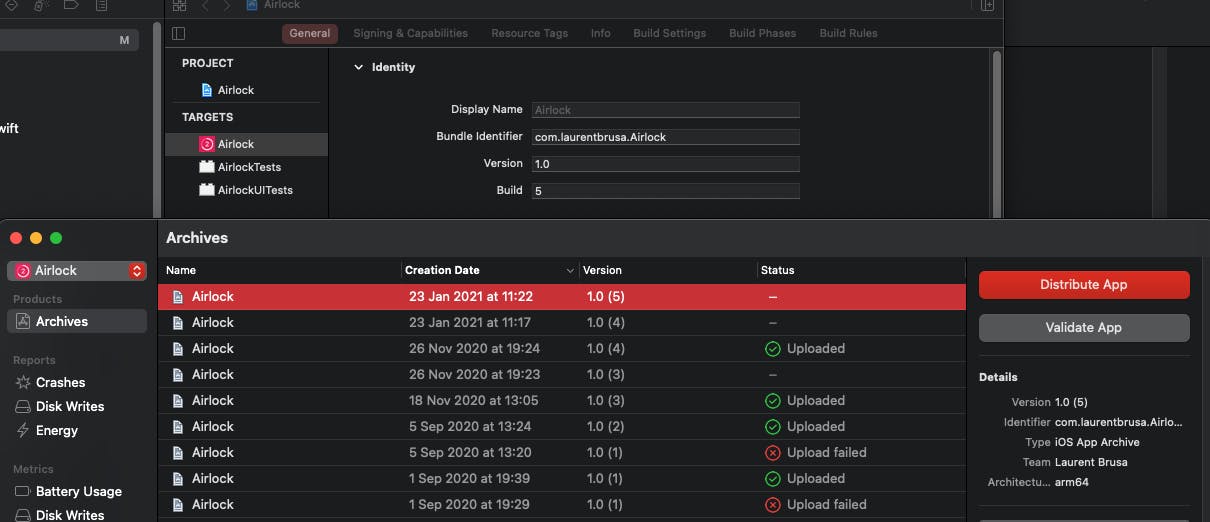
- in Xcode, in the target editor, under Signing & Capabilities, make sure you have a Bundle Identifier and that your Team and Signing Certificate is set.
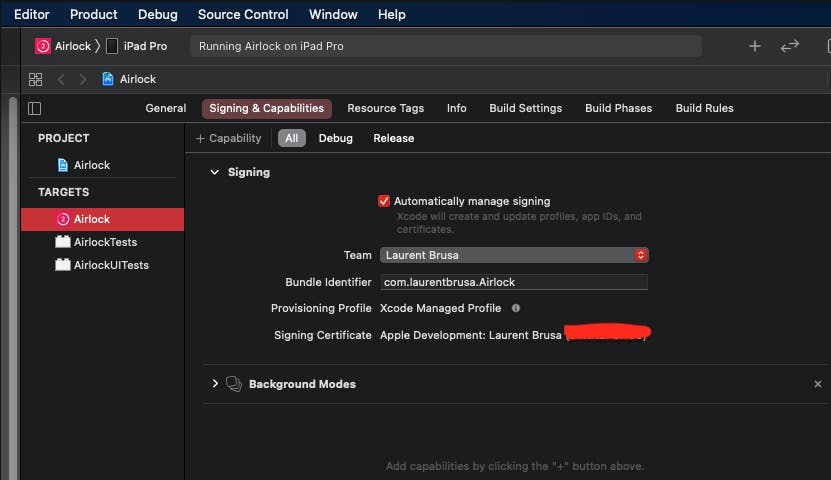
I like to update my build version here before to upload it to TestFlight. And also push the branch to GitHub for later reference!
See semantic versioning.
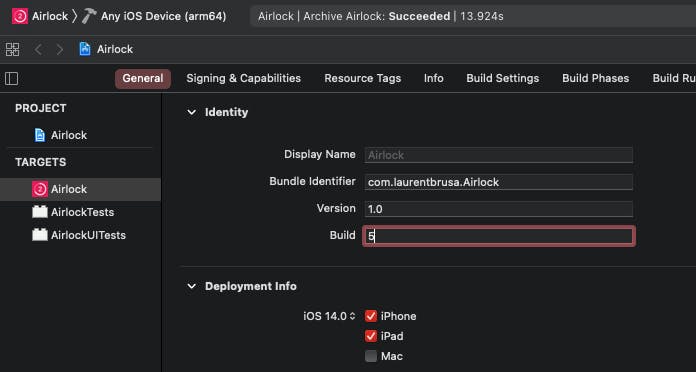
Build and archive the app. Choose Generic iOS Device in the scheme:
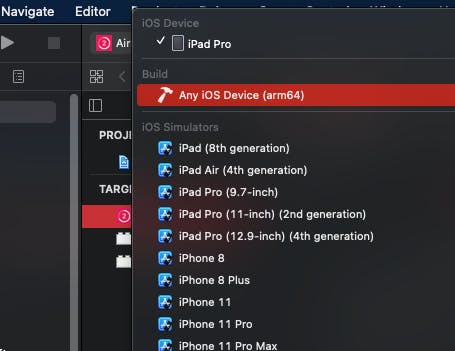
Then, create an archive using the Product ▸ Archive menu:
Xcode will open the Organizer with your app in the Archives tab.
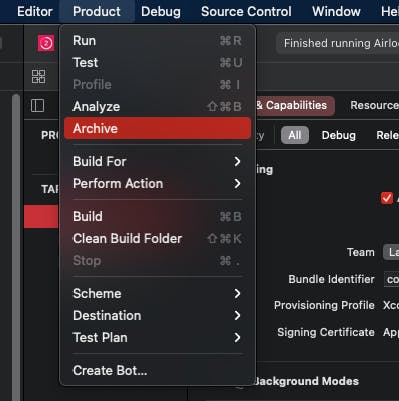
Click Distribute App.
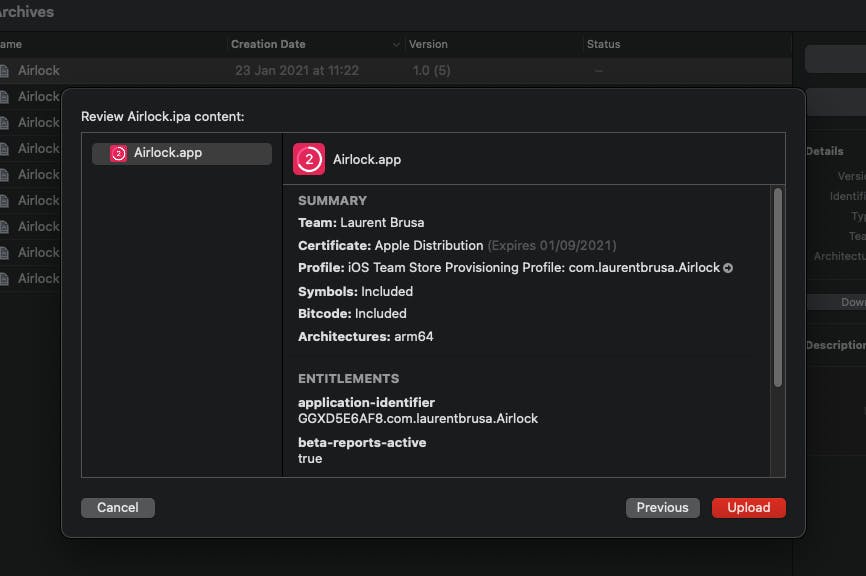
Select App Store Connect. Click Next. Leave Upload selected and click Next. Xcode will select all the checkboxes by default. Leave them like this and click Next. Automatic signing is good for most cases. Click next and you get to the final screen:
Tip: I would deactivate the VPN if you are using any. I have the feeling, that the Apple servers do not like them. Often the upload process is improved when I deactivate my VPN. Strangely, this is true for Twitter as well!
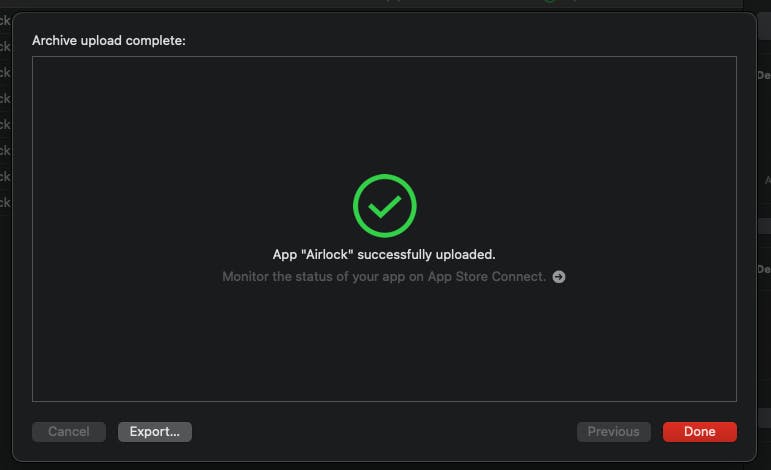
Now it is done! Click on the arrow to continue on the App Store Connect:
App Store Connect
Log in with your credentials and go to "My Apps".
There is an approval process the first time you upload an app and it can take a day or two. It can be frustrating to wait if it is the first time for you to upload an app, but successive uploads are much easier.
When uploading a version update
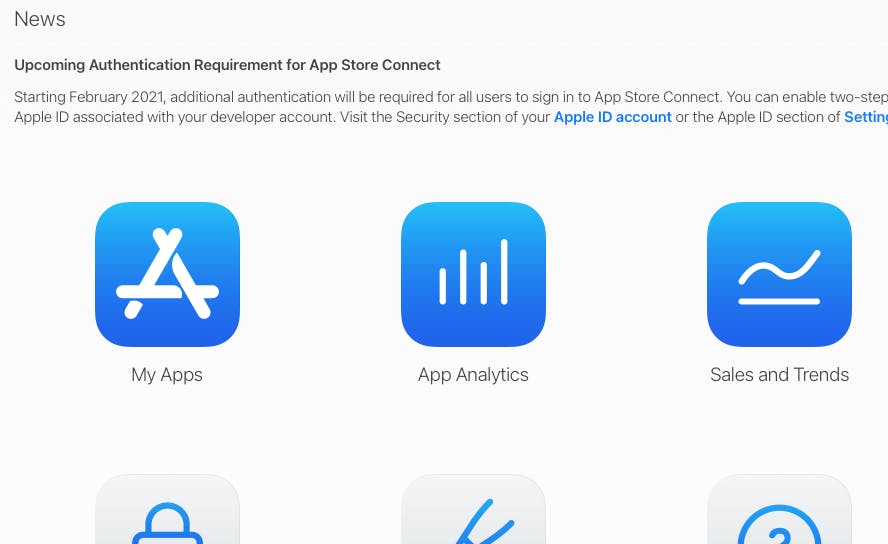
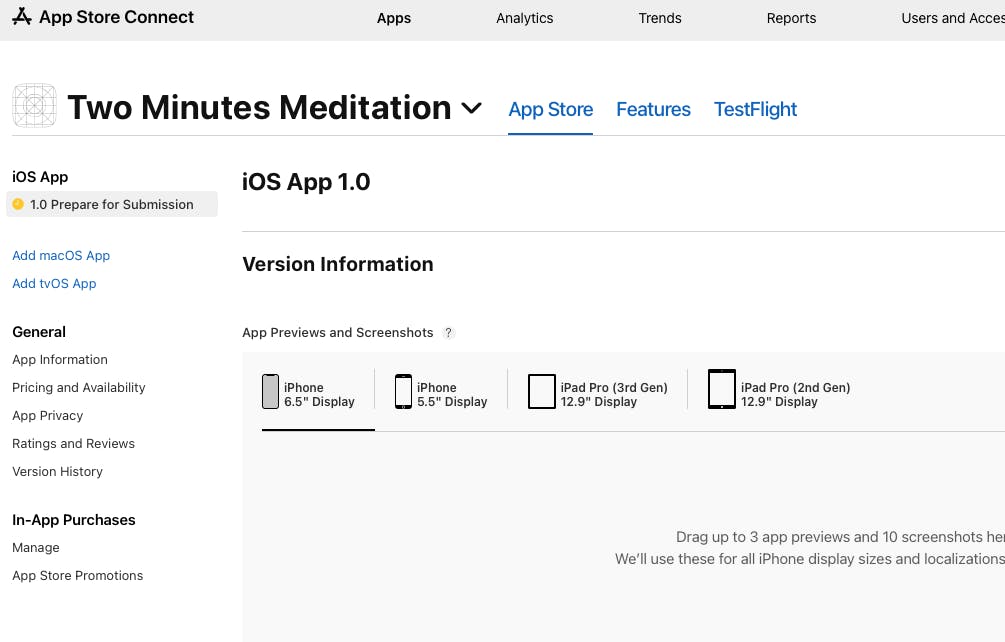
Now you get to see your apps... select the one you just uploaded for testing or click on the plus button if you are adding a new one. Here I am just adding a new version, so I can click on my app and continue.
On the next screen I need to select TestFlight:
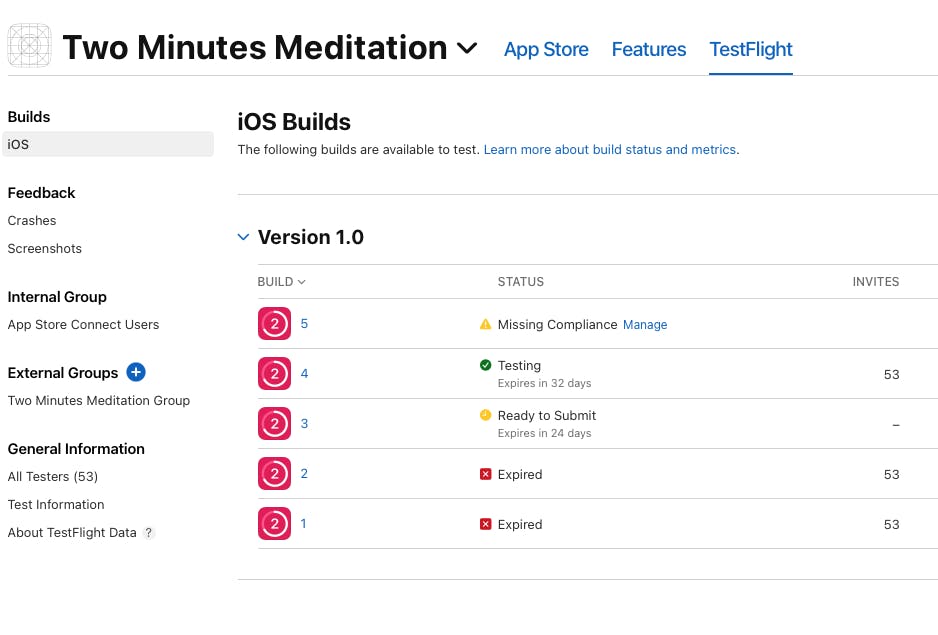
Here I see my builds and I can see that the last one is missing compliance! Click on manage:
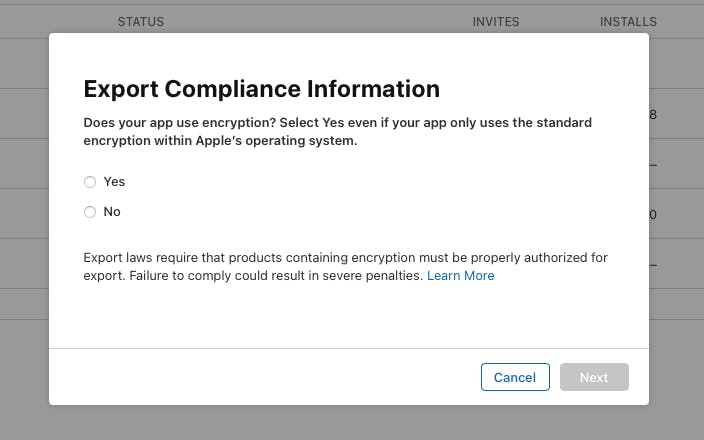
I do not use encryption and can start internal testing:
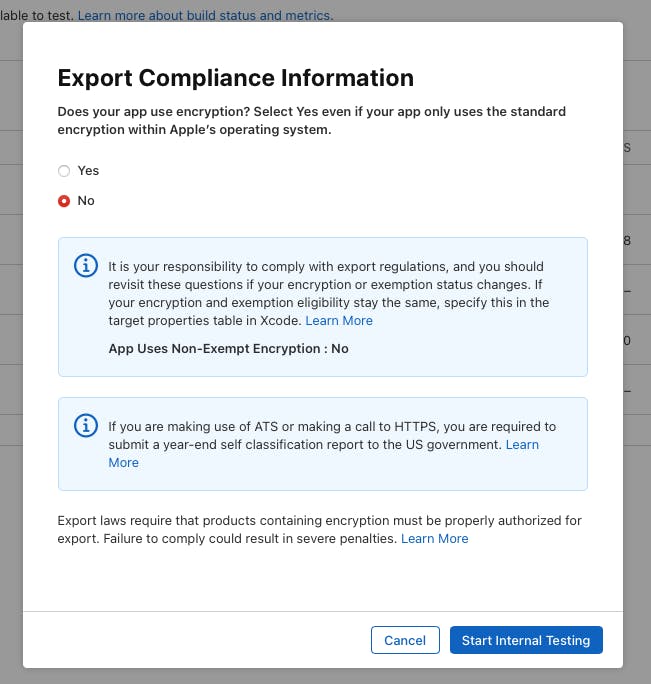
Now it says ready to submit. How to start testing? Click on the version number and enter the test information:
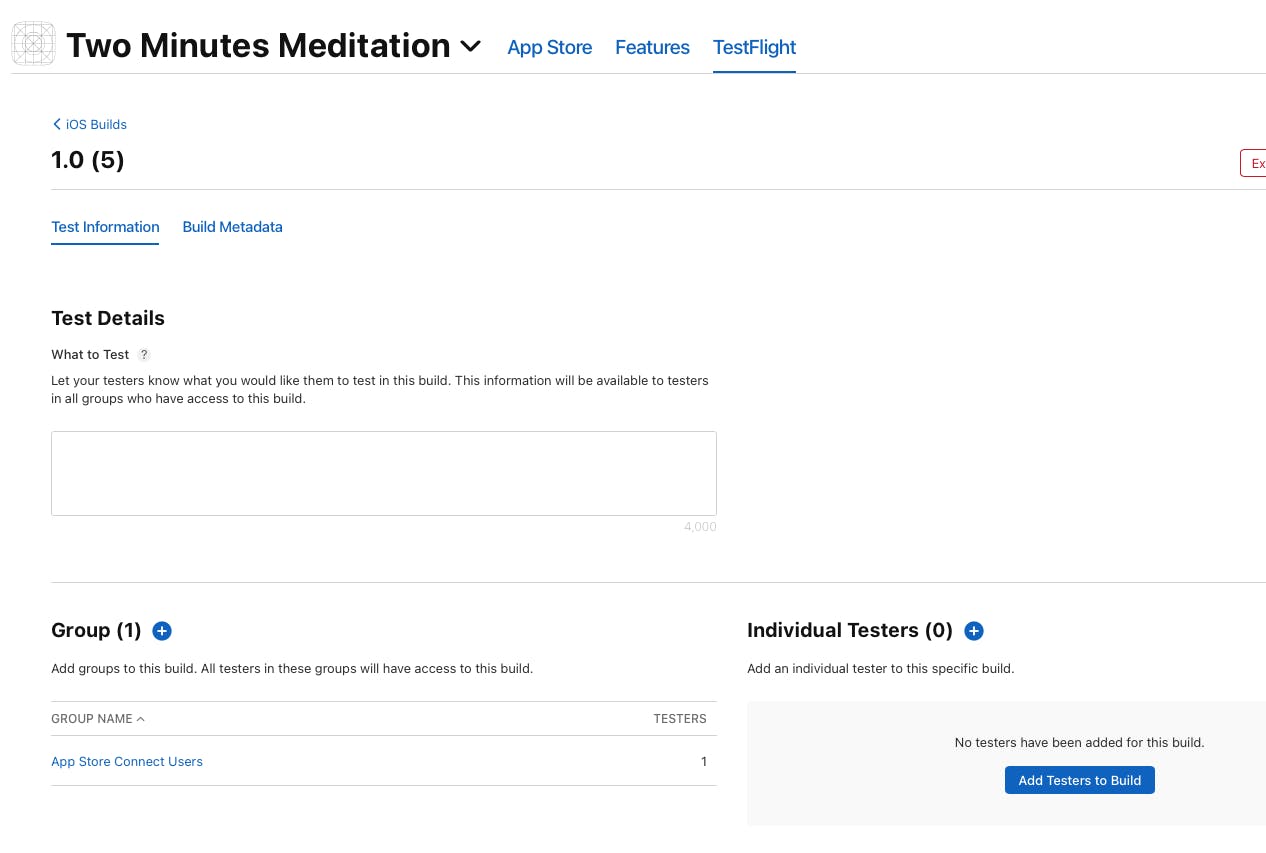
Users that had your app already installed can upgrade through TestFlight to the new version and they will see your comments you wrote in "What to test".
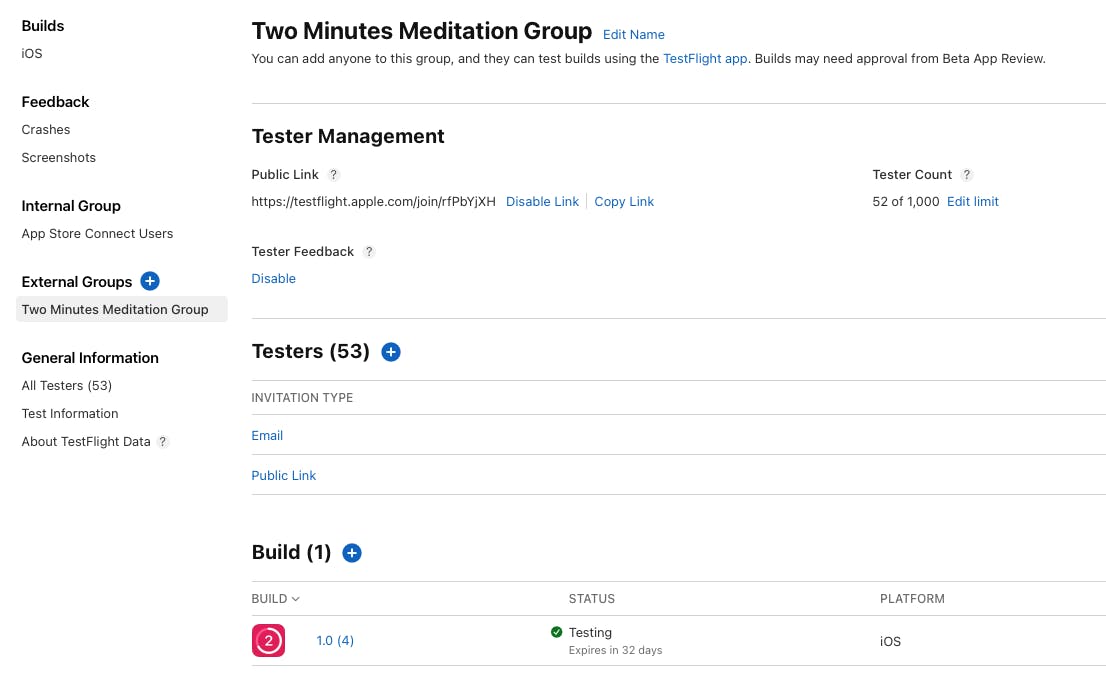
Going back to the previous page I can see that version 4 is still the only one being tested though, how to change that?
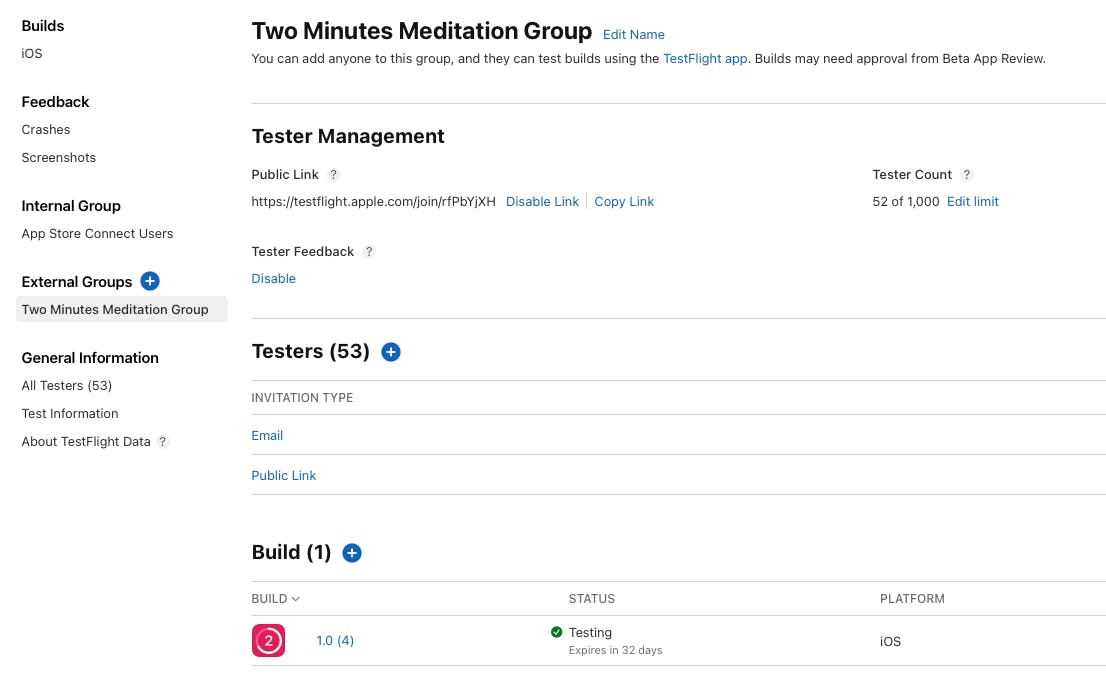
Click on the + sign next to "build" and add your just uploaded version.
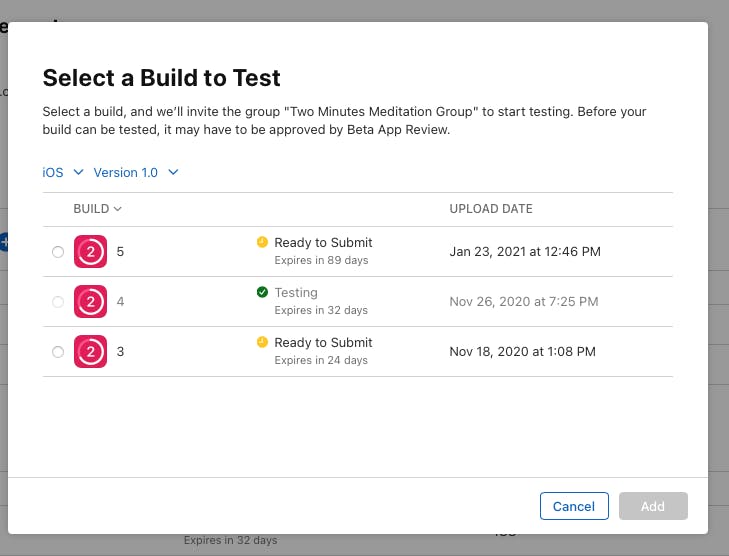
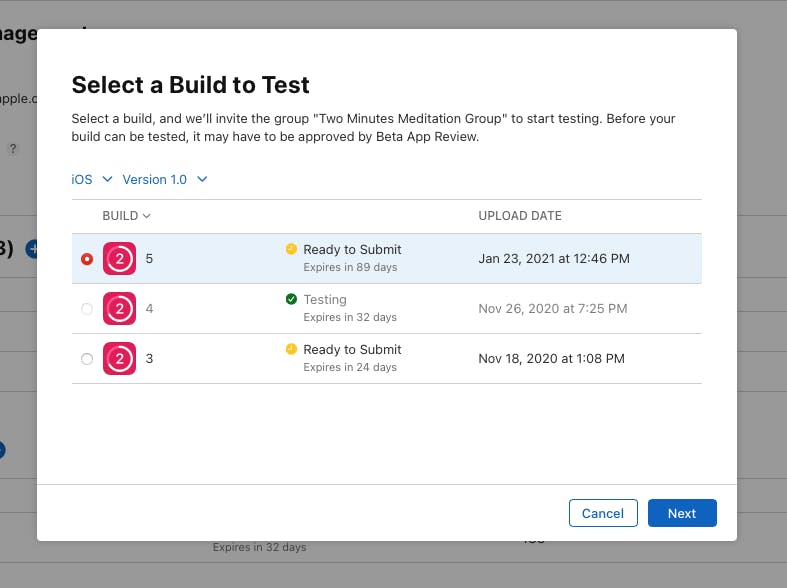
accept:
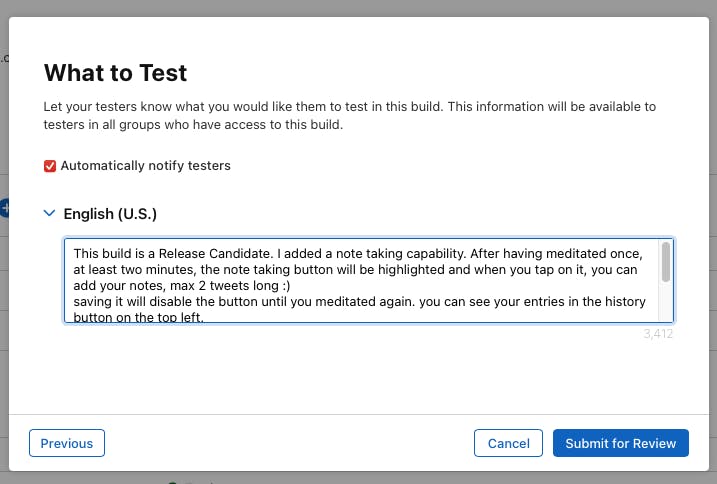
and the users who already subscribed to the version will be notified if they subscribed to updated in TestFlight!
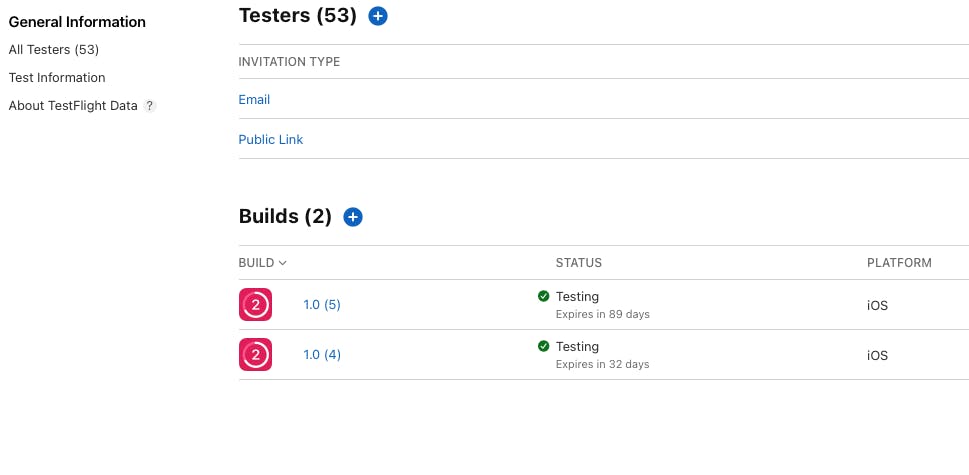
As you can see, I have 52 testers and a limit of 1000. (I did choose the limit)
Sources.
This article on Ray Wenderlich has helped write this blog post: TestFlight Tutorial: iOS Beta Testing