Code-Along Project With MapKit for SwiftUI - Part 5
En route with our map to the French cafés in the Normandie.


For iOS17 and Xcode 15 beta, or now even RC :)
Exploring SwiftUI with MapKit can be quite fun.
In iOS 17 and macOS 14, MapKit has reached a new level with a few new additions for SwiftUI. Keep in mind that these views and modifiers are still in beta and are subject to change without notice.
This brief series of posts draws inspiration from the WWDC23 talk: WWDC23 - Meet MapKit for SwiftUI
This is a code-along project, the main branch has the starter project in Xcode, which is mostly empty. It should only display a map of your region.
You can check the 'completedProject' branch of the project on GitHub for the finished version: The GitHub repo with the project
The next episodes in this series will show how to display a route and how to integrate LookAround into your project.
Previously:
Part 1 - Display default search results
Part 2 - Controlling the region being displayed
Part 3 - Rediscovering the map camera!
Part 4 - Animations and Flyovers
In this episode, we will be looking at the animations in MapKit for SwiftUI.
Part 5 - Visualise our route
After seeing animations and map camera functionality, let's refocus on our project and content view. In this post, we'll be implementing the display of routes upon tapping on markers or other locations.
We will use MKRoute to display our route on the map. MKRoute is a class in MapKit. It represents a route between two or more locations, providing detailed information such as step-by-step directions, estimated travel time, and distance.
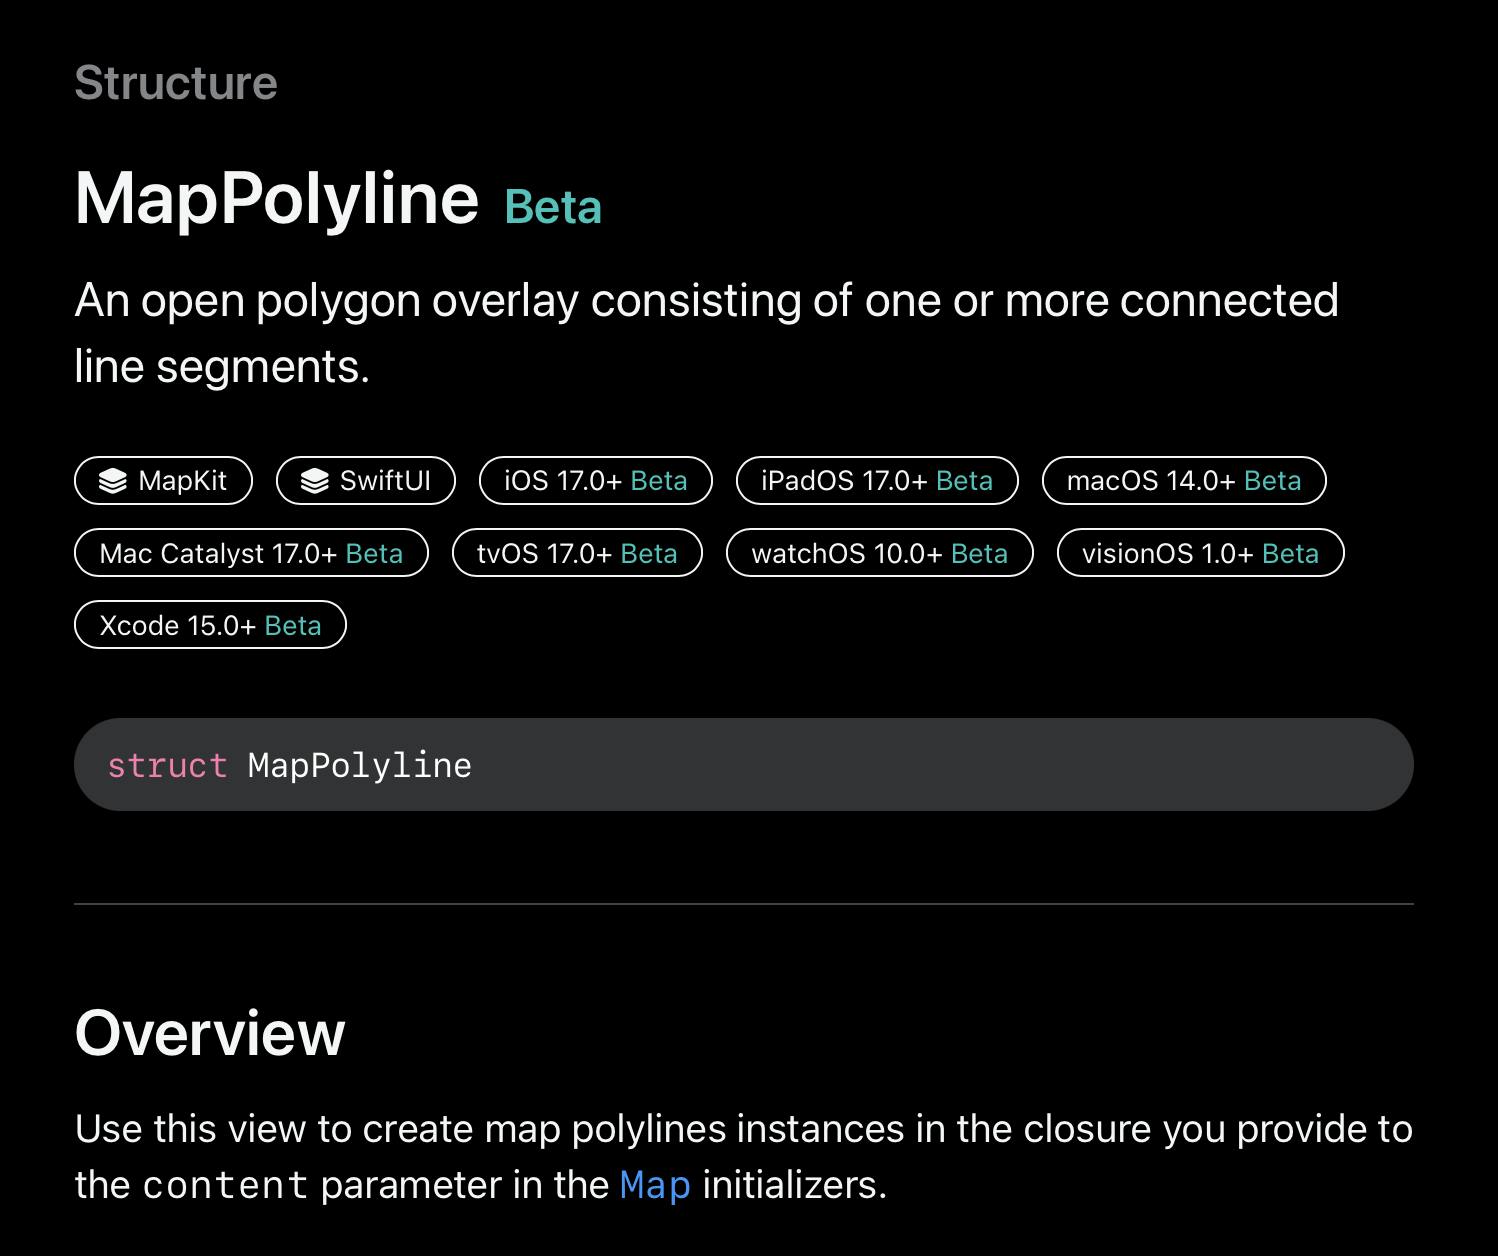
MKRoute was introduced in iOS 7 as part of the MapKit framework update, enhancing the capabilities for developers to integrate routing and navigation features into their applications, and now in SwiftUI we will use it together with MapPolyline to plot it on the map.
MapPolyline is new in iOS17:
Plotting a route to a result item on the map
Make our returned results selectable
Now, let's incorporate the ability to select a search result. Currently, there's no designated selection state, meaning the markers can't be interacted with. To rectify this, we'll simply introduce a selection binding to our Map. Add this in the ContentView:
@State private var selectedResult: MKMapItem?
and we add it in the Map init of course otherwise nothing will happen!
Map(position: $position, selection: $selectedResult)
Each map item now displayed is selectable and it will animate by default if tapped.
Generate the Route
Given that we receive an MKItem from the selection, we can use it to generate a route from our starting point to the chosen marker. We'll include the route as a state property in our ContentView:
@State private var route: MKRoute?
...
// update the ItemInfoView initialiser as well!
ItemInfoView(selectedResult: selectedResult, route: route)
and as a simple property to itemInfoView since we don't need a binding here:
var route: MKRoute?
Back to ContentView, we add a function that uses MKDirections to get one… and set the state.
It works like this:
We set the route to nil in case we had a request pending or already showing.
Then we create MKDirections.Request().
The request will be passed in an async closure and assigned to our route.
The travel time is a property of the route and we can display it in the app if we will.
Per Apple docs:
You use an MKDirections object to ask the Apple servers to provide walking or driving directions for a route, which you specify using an MKDirections.Request object. After making a request, MapKit delivers the results asynchronously to the completion handler that you provide. You can also get the estimated travel time for the route. Each MKDirections object handles a single request for directions, although you can cancel and restart that request as needed. You can create multiple instances of this class and process different route requests at the same time, but make requests only when you plan to present the corresponding route information to the user. Apps may receive an MKError.Code.loadingThrottled error if the device makes too many requests in too short a time period.
func getDirections() {
    route = nil
    guard let selectedResult else { return }
    let request = MKDirections.Request()
    request.source = MKMapItem(placemark: MKPlacemark(coordinate: .start))
    request.destination = selectedResult

    Task {
        let directions = MKDirections(request: request)
        let response = try? await directions.calculate()
        route = response?.routes.first
    }
}
In the code above we don't deal with potential errors, but if we wanted to handle we could change the code in the Task block to use a try keyword instead of a try? and catch the error there.
getting the expected travel time
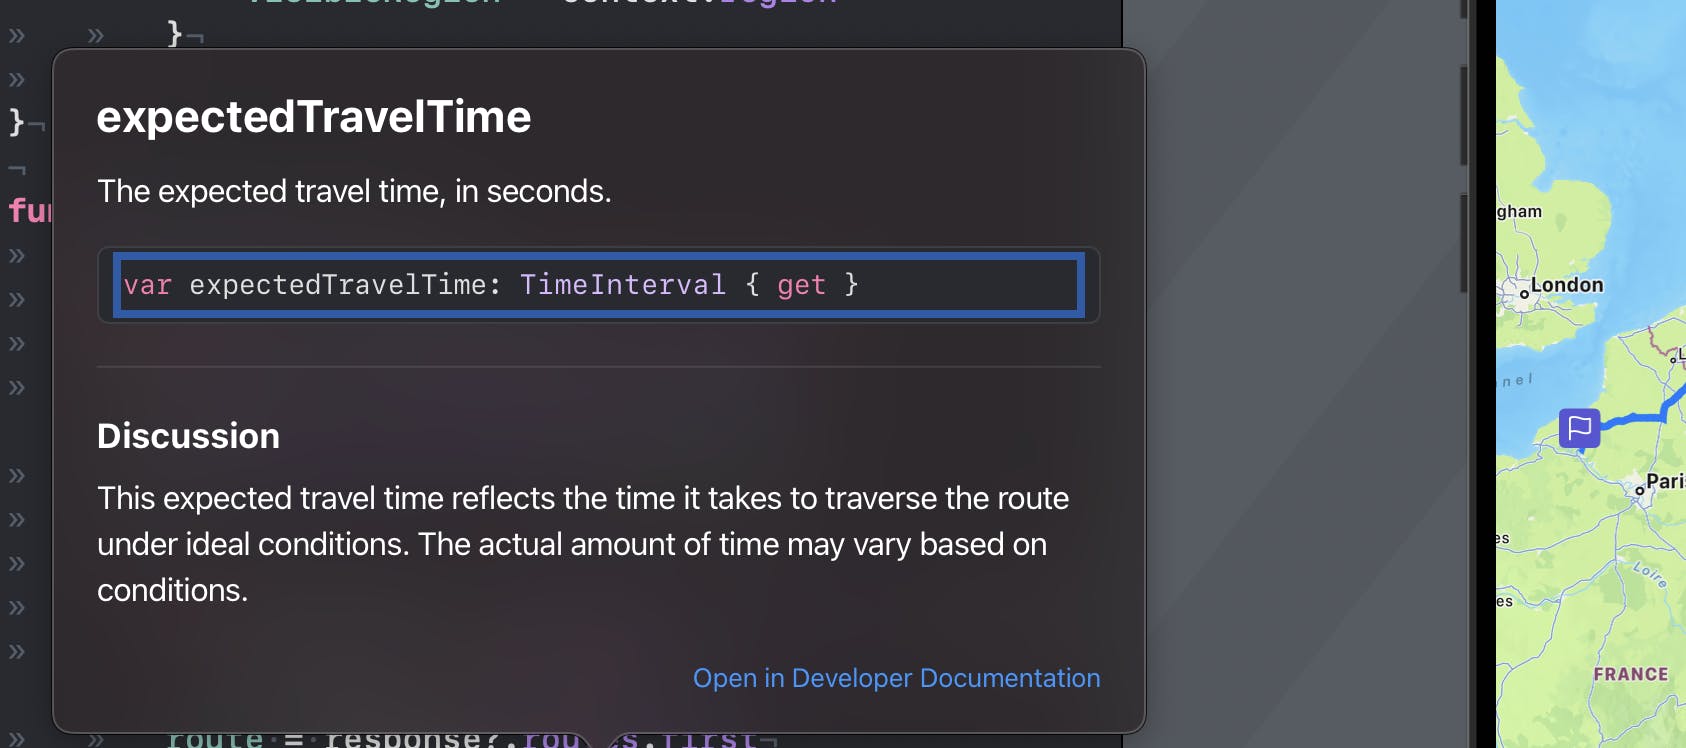
Conveniently, a property of my route is the expectedTravelTime and it is of type TimeInterval.
We want to display the travel time a view later on, so for now we can add it either as a computed property, using the swift DateComponentsFormatter to convert it to a string (since we receive it as a Date type):
    private var travelTime: String? {
        guard let route else { return nil }
        let formatter = DateComponentsFormatter()
        formatter.unitsStyle = .abbreviated
        formatter.allowedUnits = [.hour, .minute]
        return formatter.string(from: route.expectedTravelTime)
    }
or we can use an extension if you like. This would work as well and I think I prefer it because cleaner and avoids putting too much code in our views:
extension TimeInterval {
    var formattedToString: String {
        let formatter = DateComponentsFormatter()
        formatter.unitsStyle = .abbreviated
        formatter.allowedUnits = [.hour, .minute]

        return formatter.string(from: self) ?? ""
    }
}
For debugging, I added a print-to-console statement inside the Task to print the time required to get there:
print(route?.expectedTravelTime.formattedToString ?? "")
Also, we call the function every time the selectedResult changes with:
        .onChange(of: selectedResult) {
            getDirections()
        }
Now adding the route is as easy as adding a MapPolyline to the map:
  if let route {
        MapPolyline(route)
            .stroke(.blue, lineWidth: 5)
    }
So this time it should look like this. When selecting a café you get the route with the time in the console nicely formatted in hour and minutes. Select another and you get another route with the name and travel time in the (for now) console.
Plotting the route to a tapped point

This is nice you say, but what if I want to tap on the map and get a route to that location? New in SwiftUI we get a MapReader. It works a bit like a GeometryReader, but it is specialised for MapKit and it has a function built in to convert the screen coordinates to a latitude and longitude on our map so we don't have to do it. Neat!
We just need to wrap our map in a MapReader and add a onTapGesture modifier to get the coordinates of the tapped location which will be of type CLLocationCoordinate2D. So we add a state property for this variable and then we wrap the map in the map reader:
@State var pinLocation: CLLocationCoordinate2D? = nil
...

  MapReader{ reader in
     Map(position: $position, selection: $selectedResult){
         ...
       // If pinLocation gets a value through our tap then we will add a new marker
        if let pinLocation  {
            Marker("New Marker", coordinate: pinLocation)
        }
     }
     .onTapGesture(perform: { screenCoord in
          pinLocation = reader.convert(screenCoord, from: .local)
          if let pinLocation = pinLocation {
                    selectedResult = MKMapItem(placemark:
                           MKPlacemark(coordinate: pinLocation))
                }
     })
Try tapping on a marker and you should get a route to the location because I set the selectedResult to that location and on change of that property the method getDirection will get called. This is SwiftUI just doing his thing and it is also called reactive programming, we do not procedurally decide to update the UI but our UI will be updated naturally when the state changes.
We need to reset our map when we move to a new location, so when we tap a button to change our location we reset the route to nil and our custom pin locations too:
            .onChange(of: searchResults) {
                position = .automatic
                route = nil
                selectedResult = nil
                pinLocation = nil
            }
See the docs here: https://developer.apple.com/documentation/mapkit/map/4231673-init
That's it for today. See you in the next post of the series! We still need to display searches and routes :)
Coming next
Adding a route with GeoJson
Adding a route from a GPX file
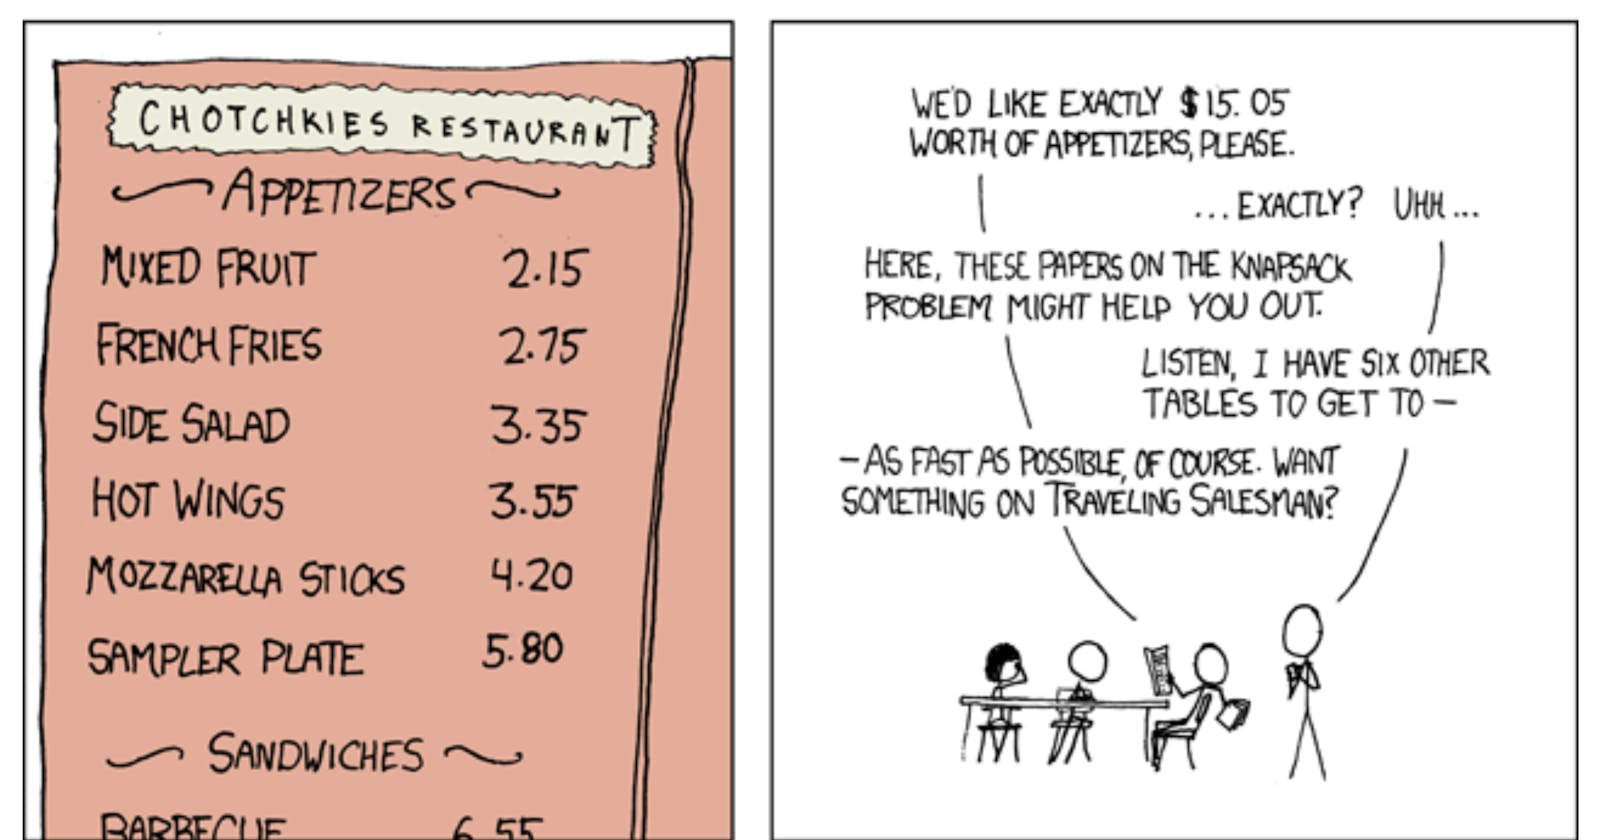
Credits: Image from XKCD: https://xkcd.com/287/
Relevant Links
The GitHub repo with the project